An Overview of the Pathfinder Window
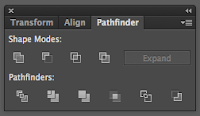
The Pathfinder Window in Illustrator provides a great way to create and dissect new interesting shapes.
In order to open and experiment with the Pathfinder window follow the below steps:
1. Window > Pathfinder
 |
| Pathfinder Window |
|
|
|
(The Pathfinder Window contains a series of commands that can be applied to your shapes in Illustrator. The best thing to do is to create your shapes and experiment! As you hover your mouse around this window the commands will appear.)
2. Select and draw two overlapping shapes. Use the Shape Tool on the Tools Panel.
 |
| Shape Tools |
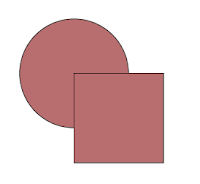 |
| 2 Overlapping Shapes |
3. Make sure that both Shapes are selected and then choose one of the pictures on the Pathfinder Window.
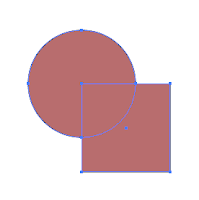 |
| Selected Shapes |
(In Illustrator an Object is selected if you can see its anchor points and paths. In order to select multiple shapes use you black arrow, the Selection Tool, and hold down Shift.)
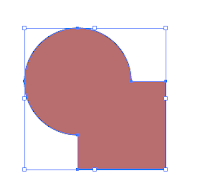 |
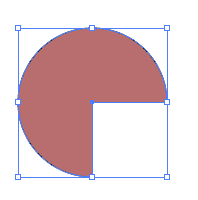
| 1. Unite |
 |
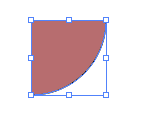
| 2. Minus Front |
 | |
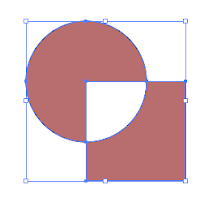
| 3. Intersect | | | | |
 |
| 4. Exclude |
Examples 1-4 are the first row of commands on the Pathfinder window. They specify Shape Modes.
 |
| 5. Divide |
 |
| 6. Trim |
 |
| 7. Merge |
 |
| 8. Crop |
 |
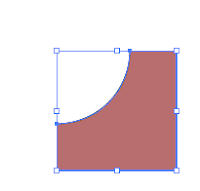
| 9. Outline |
 |
| 10. Minus Back |
Examples 5-10 are from the 2nd row of the Pathfinder Window, located in the Pathfinders section.
The Pathfinder Window has great tools to use for designing logos, creating interesting patterns and so much more.


No comments:
Post a Comment